#
Create a Kubernetes Cluster in Azure
Prerequisites:
- We have an Azure account and a subscription created.
Once we are logged in the Azure console, can go to the "All resources" page.
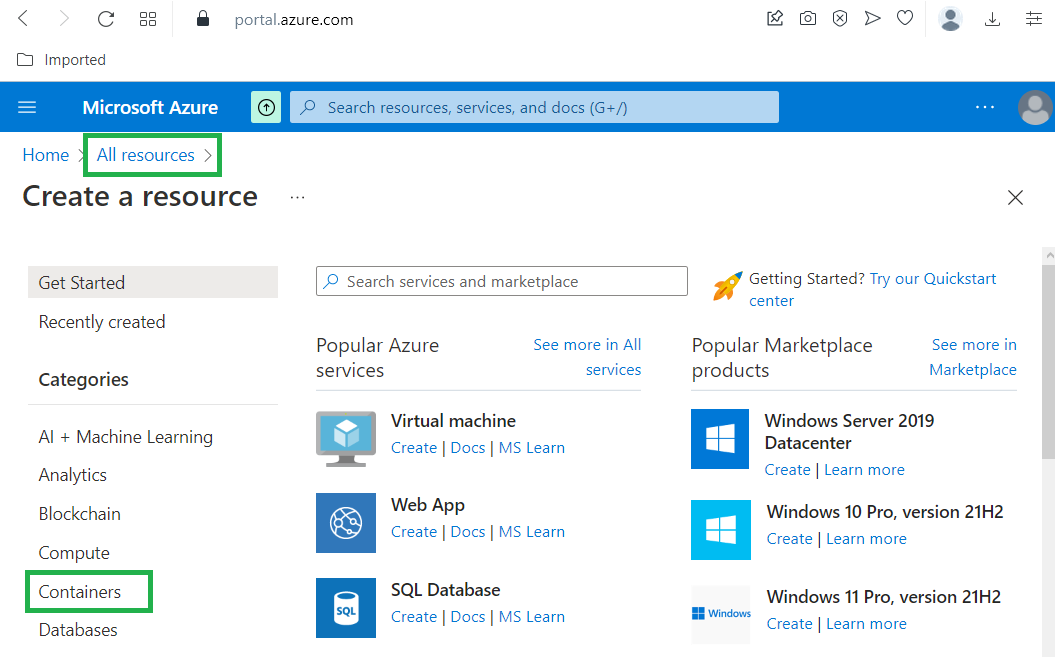
Click on "Containers" and we will see the following page:
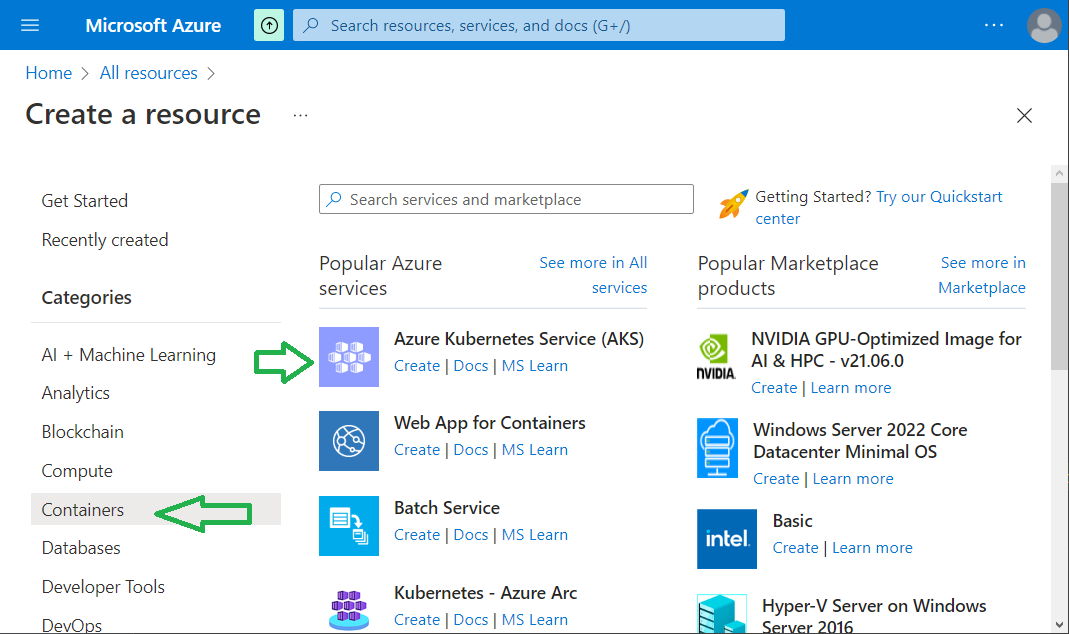
Click on "Create" under "Azure Kubernetes Service (AKS)".
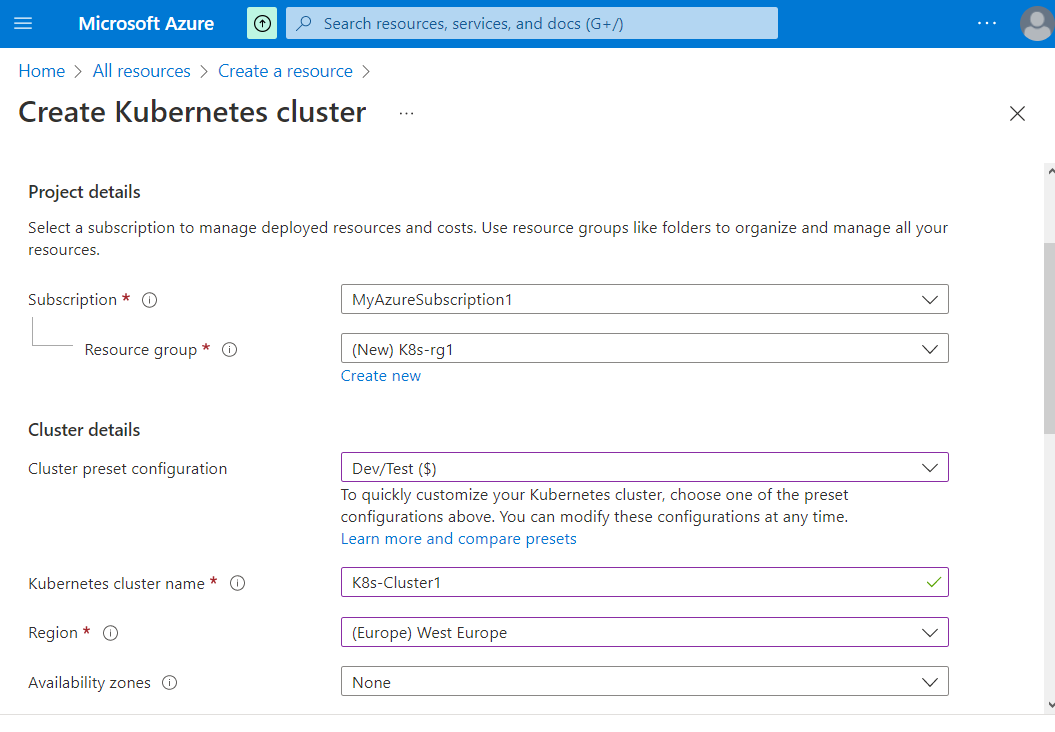
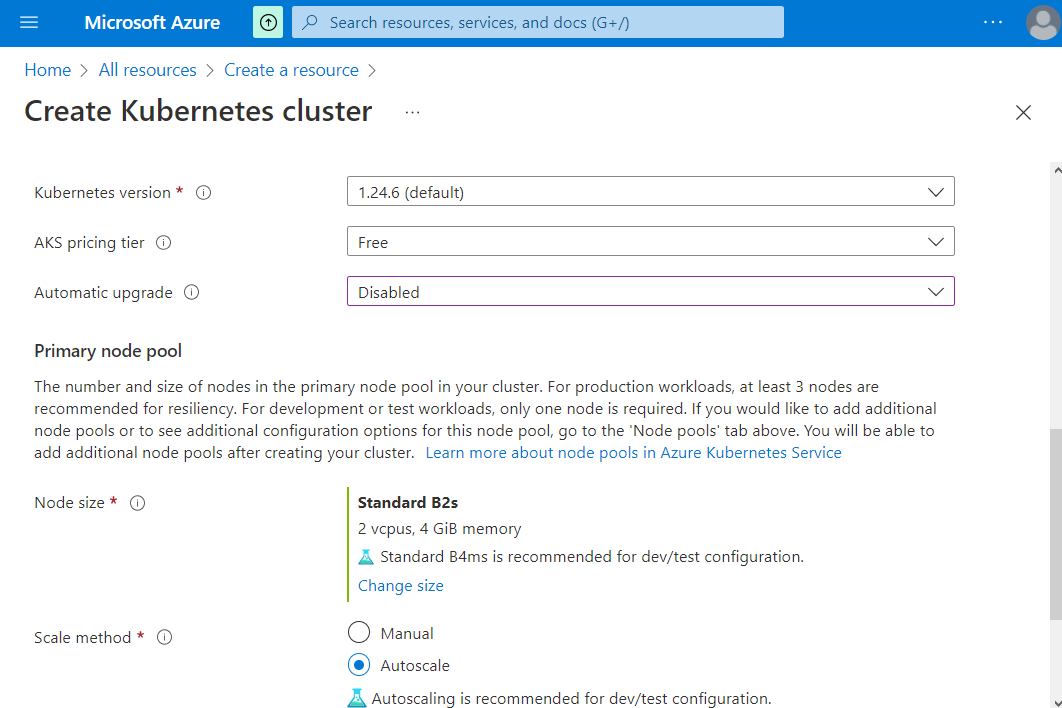

Choose the subscription, the resource group, the cluster and Primary node pool details. Click on "Next: Node Pool".
Info
In Azure Kubernetes Service (AKS), nodes of the same configuration are grouped together into node pools. These node pools contain the underlying VMs that run your applications. The initial number of nodes and their size (SKU) is defined when you create an AKS cluster, which creates a system node pool.
Instead of a uniform cluster where all the nodes are the same, you can have multiple node pools that better suit your needs.
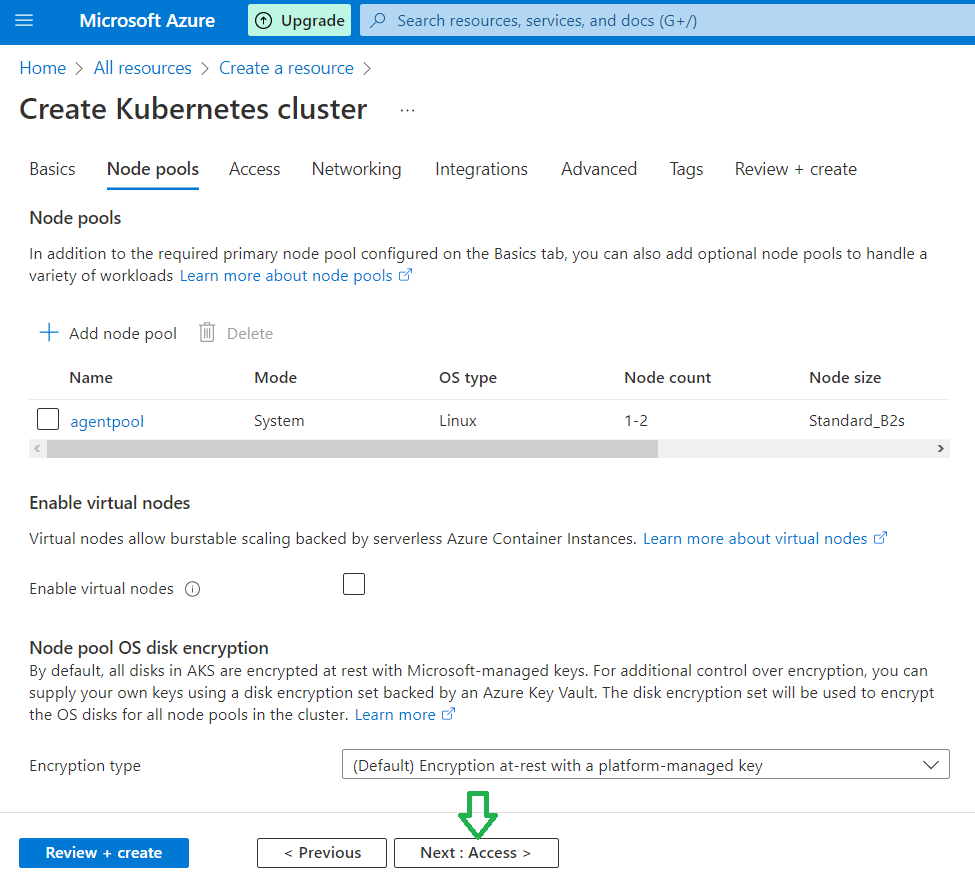
We can let the default values and click on "Next: Access".
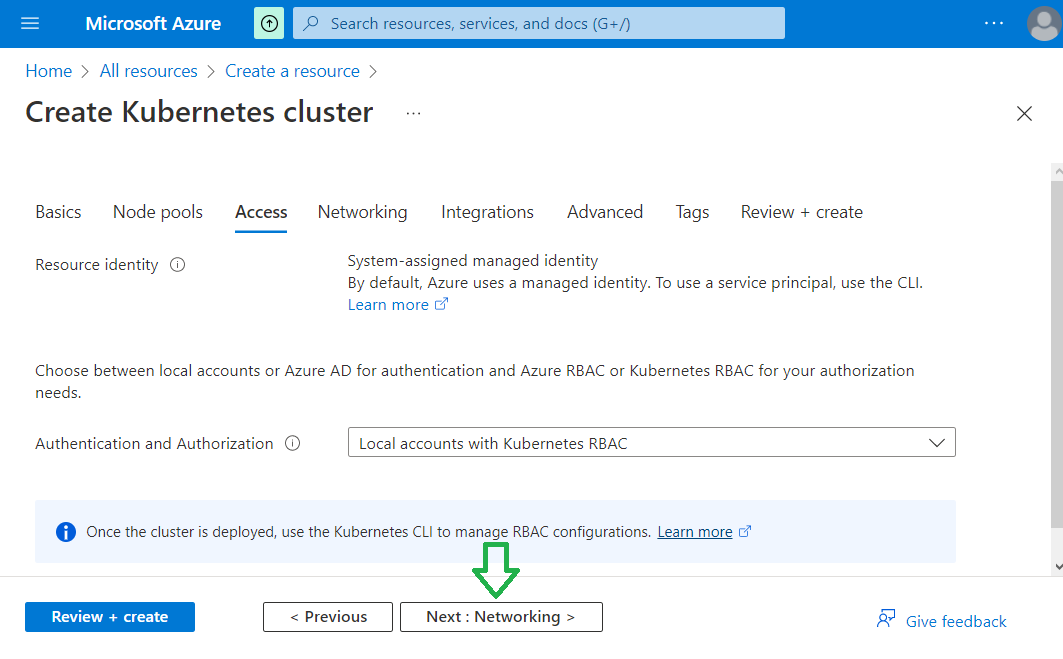
We can let the default values and click on "Next: Networking".
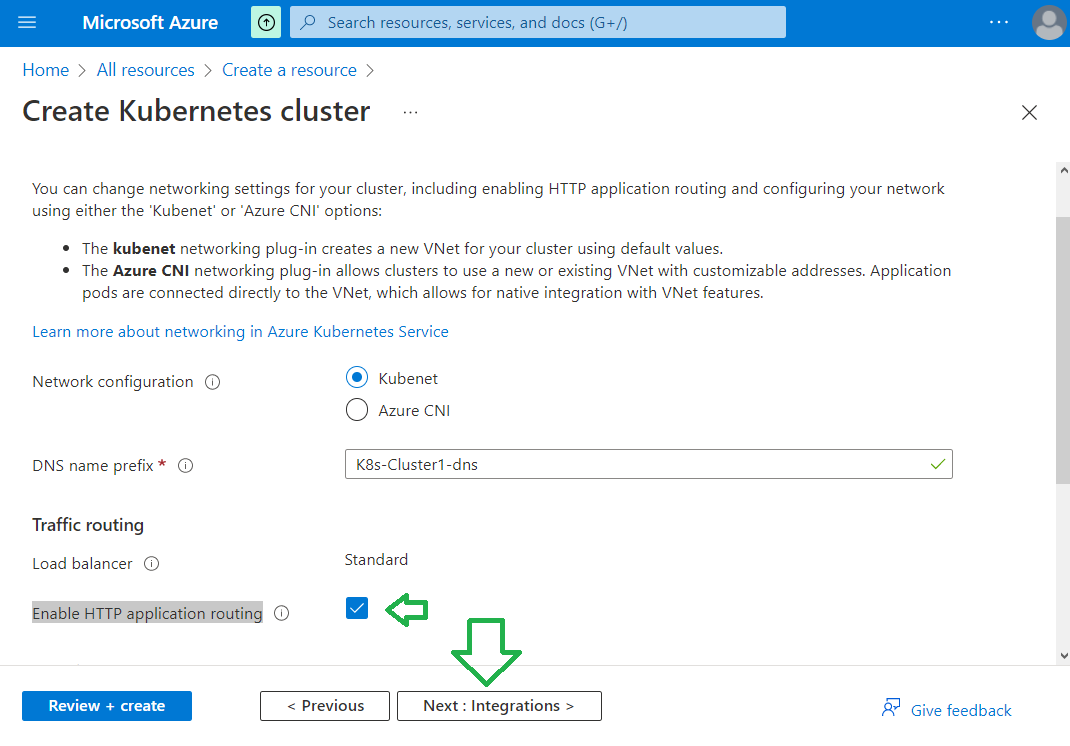
Enable HTTP application routing and click on "Next: Integrations".
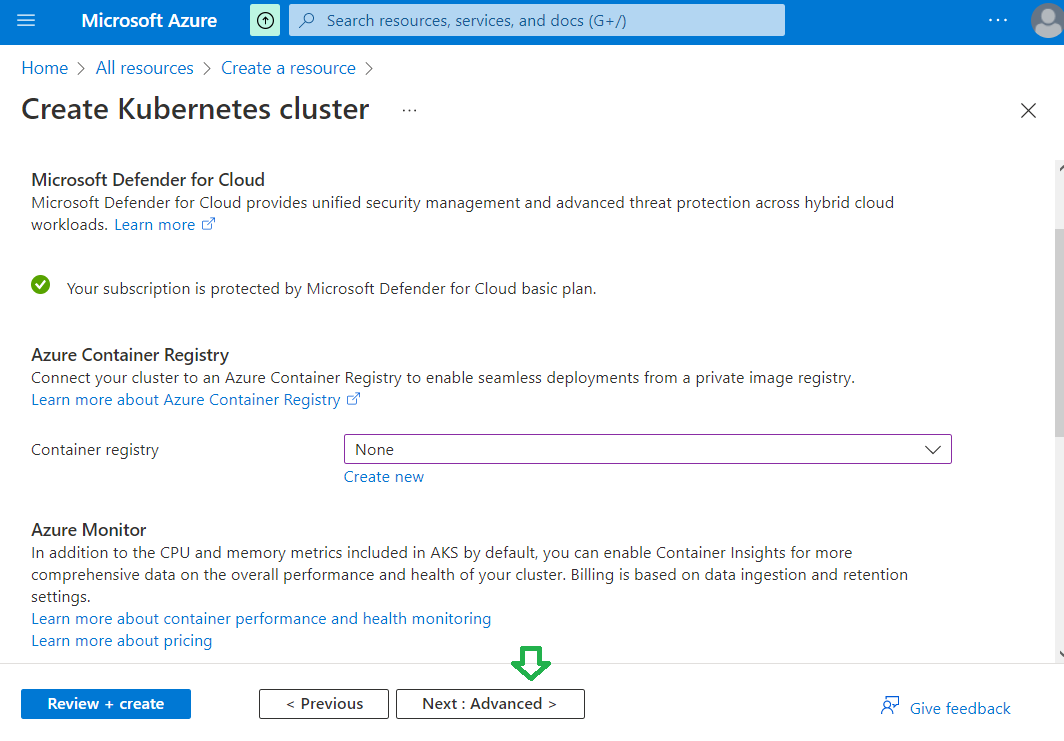
Create a new Azure Container Registry or not and click on "Next: Advanced".
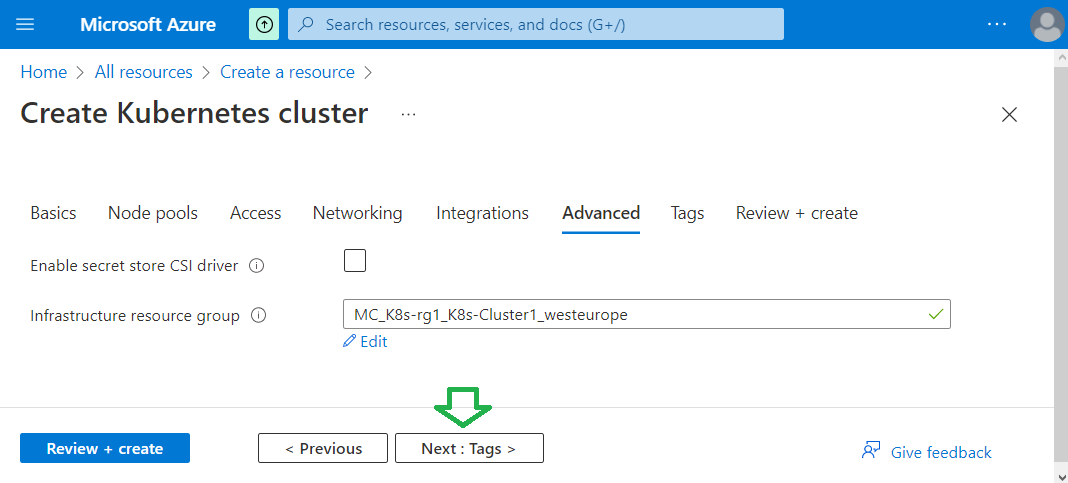
We can let the default values and click on "Next: Tags".
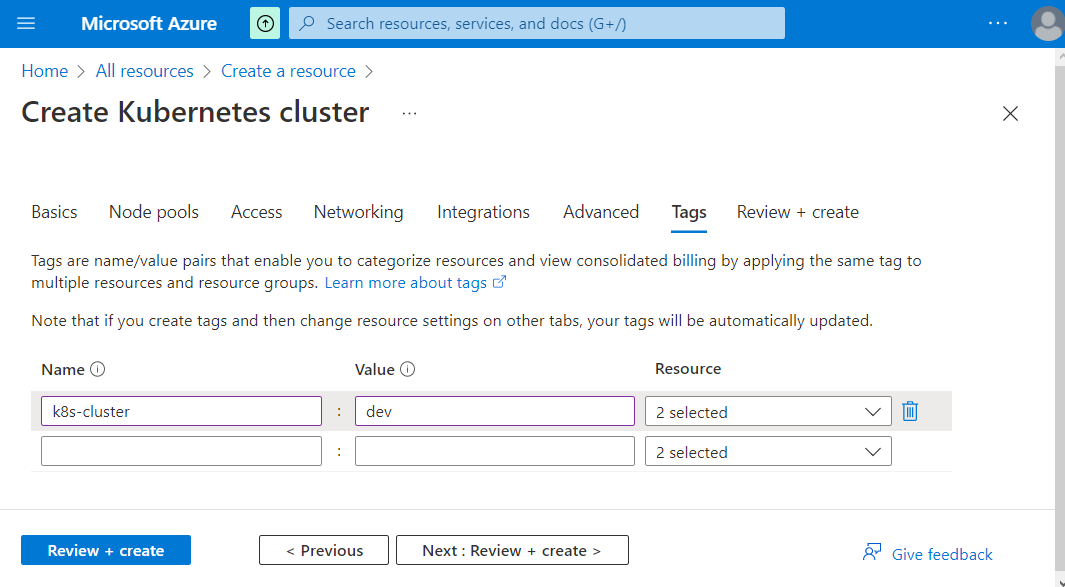
Info
Tags are name/value pairs that enable you to categorize resources and view consolidated billing by applying the same tag to multiple resources and resource groups.
Choose some tags if you want and click on "Next: Review + Create" button.
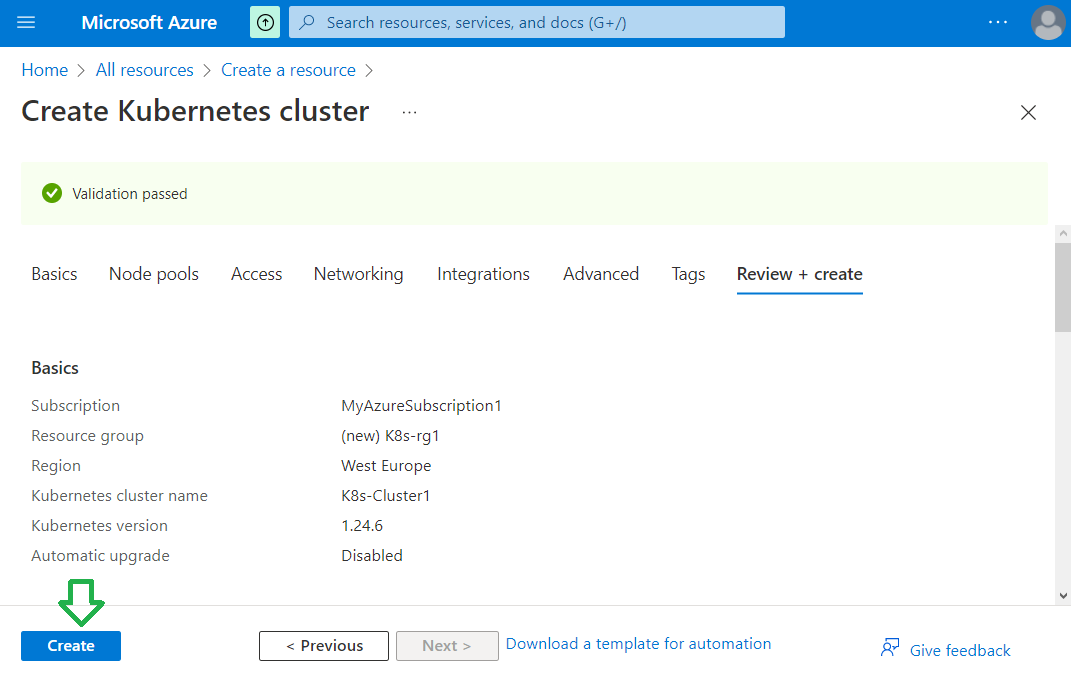
You will see that the configuration is valid, and you can click on "Create" in order to create the cluster.
You will se a page showing "Deployment is in progress". When the Kubernetes cluster is ready, you will receive a message.

