#
Create and start an HTTP server
This tutorial explains to you how to create and start an HTTP server using Docker Compose.
When we are working with Docker Compose the main activity is to create the Docker Compose configuration file.
In my case this is docker-compose.yaml.
Here is the content of docker-compose.yaml file:
version: '4.15'
services:
  apache:
    image: httpd:latest
    container_name: my-apache
    ports:
    - '8080:80'
    volumes:
    - ./my-website:/usr/local/apache2/htdocs
This will download and install the latest image of the Apache HTTP server.
The container will have the my-apache name. Inside, into the container the HTTP server is running on the port 80.
However, a mapping between host port 8080 and container port 80 is created.
When the docker-compose up is run, the local image is created and the container is started.
Info
docker-compose up command is run in the same directory as docker-compose.yaml file.
In the same directory we have our website into "my-website" directory which is mapped into the
/usr/local/apache2/htdocs folder. This folder keeps the HTTP server file. Please note, that
the content will not be copied to the container, but will stay on the host machine.
In my case the my-website folder has only one file (index.html) with the following content:
<html>
<head>
<title>This is a page from container</title>
</head>
<body>
<p>Hello World !</p>
<p>This message is from my server 🌹 !</p>
</body>
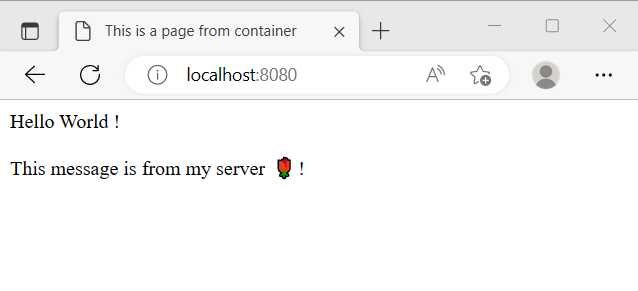
</html>Now when I ask for http://localhost:8080 resource in the browser I receive the page I have created for my site:

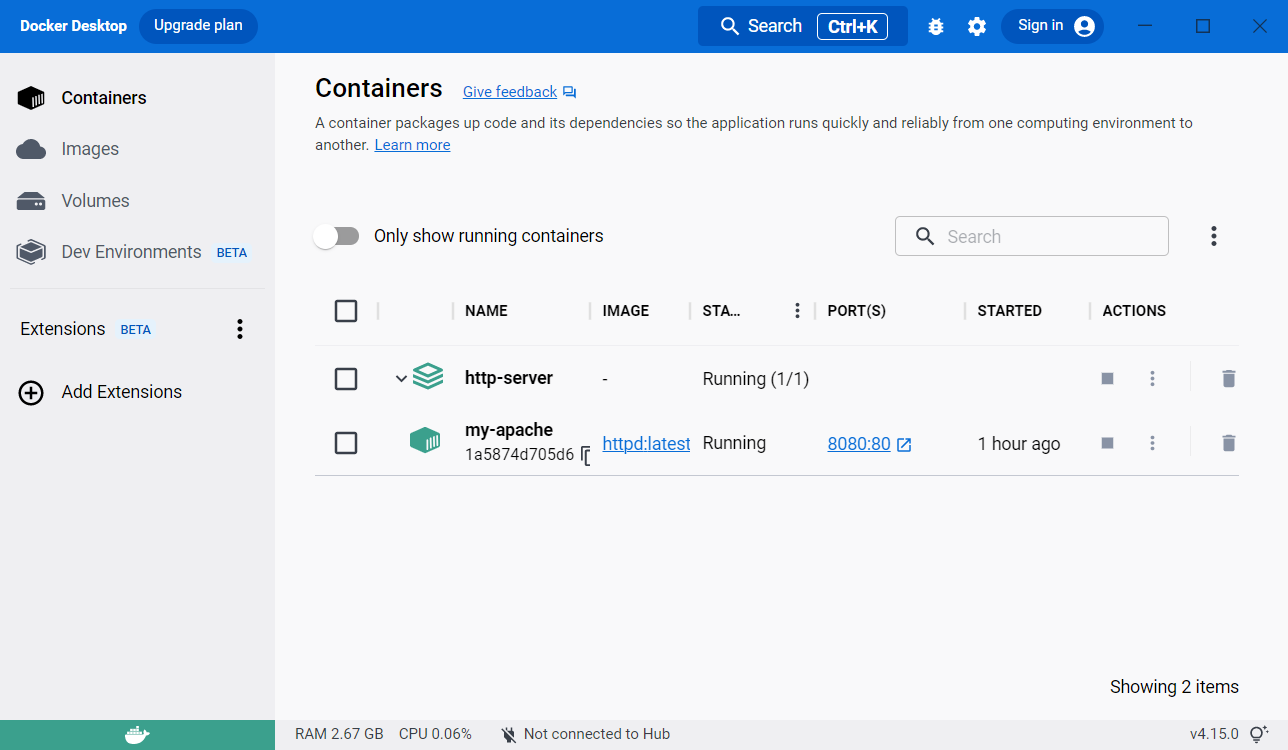
Also, on the Docker Desktop I can see the container in a running state:


