#
Configuration Client
This tutorial explains how to create a Spring Cloud Config Client. This tutorial contains an example as well.
The main idea with the Spring Cloud Config Client is that this service will take the config file from the Spring Cloud Config Server (a central place where we keep the configuration files).
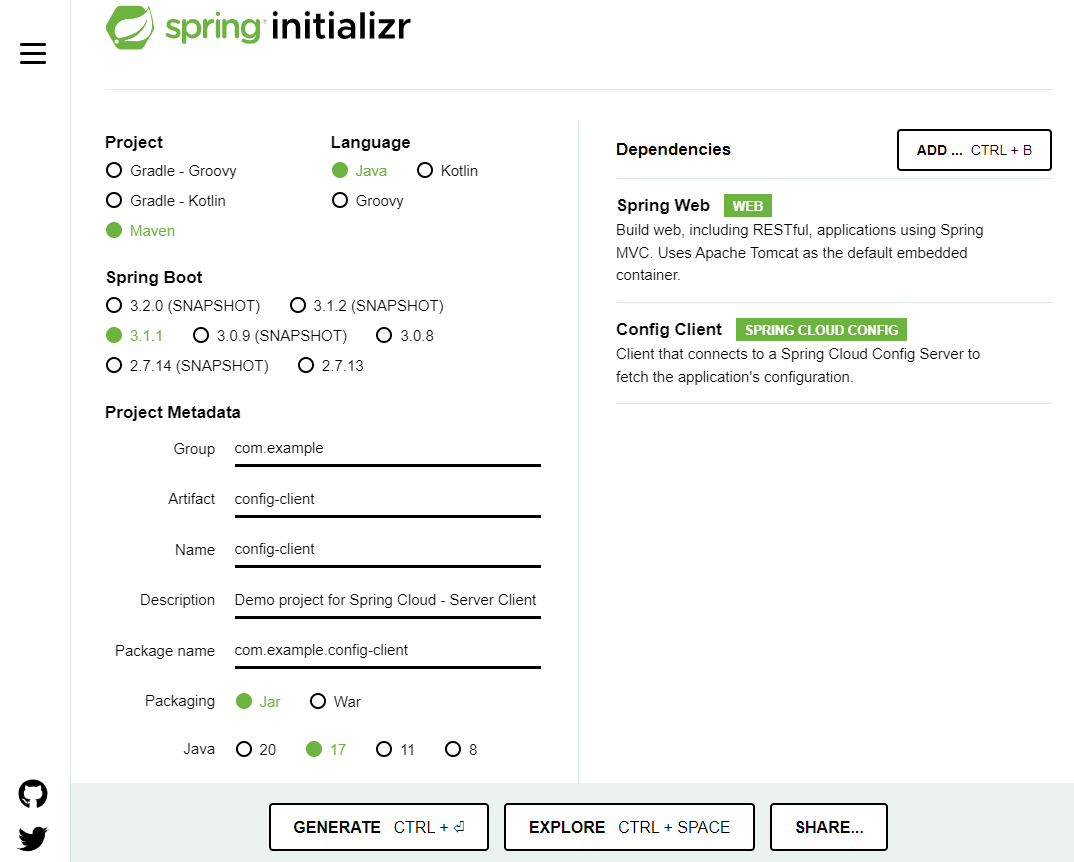
First of all I will create a simple Spring Boot application using spring initializr
as in the image below:

Now we need to add @RefreshScope annotation to the main class of the application.
Now the main class will look like this:
package com.example.configclient;

import org.springframework.beans.factory.annotation.Value;
import org.springframework.boot.SpringApplication;
import org.springframework.boot.autoconfigure.SpringBootApplication;
import org.springframework.cloud.context.config.annotation.RefreshScope;

@SpringBootApplication
@RefreshScope
public class ConfigClientApplication {
	public static void main(String[] args) {
		SpringApplication.run(ConfigClientApplication.class, args);
	}
}
We need also need to start the Config Server. For this example you can use the one created in the article named Config Server.
In GitHub repo I pushed the following file:
color.window=red
color.frame=white
color.car=blue
Info
As you will see "client1-service" is the name of our service (Config Client).
I will configure the application.properties for the Spring Cloud Config Client as below:
server.port=8001
spring.application.name=client1-service
spring.config.import=optional:configserver:http://localhost:9900
8001 : the port the Config Client is running on
client1-service : the name of the Config Client
optional : the Cloud Config Client will start even if the Config Server is not available
localhost:9900 : where the Cloud Config Server is running
For testing how the configuration values are read from the Cloud Config Server, let's create a controller for this application. So I will add the following controller to my Cloud Config Client:
package com.example.configclient;

import org.springframework.beans.factory.annotation.Value;
import org.springframework.web.bind.annotation.GetMapping;
import org.springframework.web.bind.annotation.RestController;

@RestController
public class MyController {

    @Value("${color.window}")
    String colorWindow;

    @Value("${color.car}")
    private String colorCar;

    @GetMapping("/readValues")
    public String status() {
        return  " <p> From the Config Server I have read: </p>" +
                " <p> color.window ="+ colorWindow + " </p>" +
                " <p> color.car ="+ colorCar + " </p>";
    }
}
I start my application and I put the http://localhost:8001/readValues address in a browser.
I will see something like this:

So, enjoy the Cloud Config Client !

