#
Eureka Server
This tutorial explains how to create a Spring Cloud Eureka Server. This tutorial contains an example as well.
Eureka Server is a service registry. Here all the clients will be registered, and they could communicate
using their service name and not using their hostname. This service registry acts as a central location where
the clients will send information about their existence. If their IP change, this will be registered in that
central location.
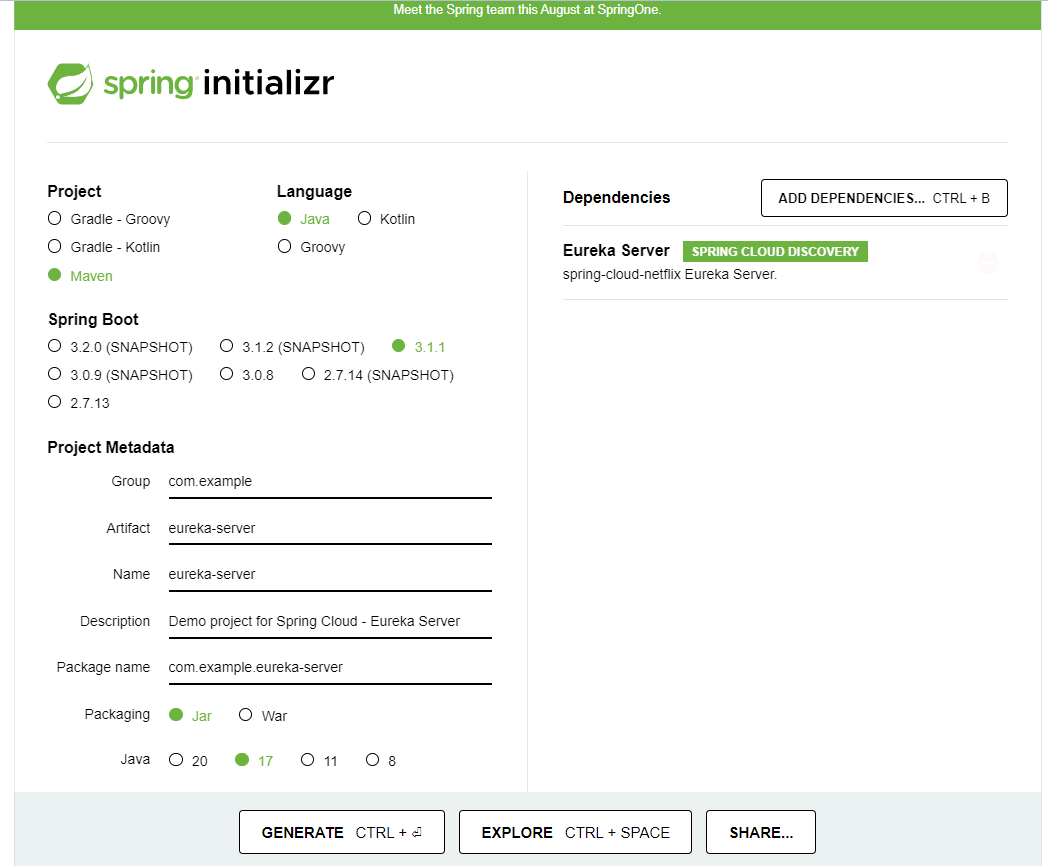
First of all I will create a simple Spring Boot application using spring initializr
as in the image below:

The implementation of Eureka Server is very simple.
Now we need to add @EnableEurekaServer annotation to the main class of the application.
Now the main class will look like this:
package com.example.eurekaserver;

import org.springframework.boot.SpringApplication;
import org.springframework.boot.autoconfigure.SpringBootApplication;
import org.springframework.cloud.netflix.eureka.server.EnableEurekaServer;

@SpringBootApplication
@EnableEurekaServer
public class EurekaServerApplication {

	public static void main(String[] args) {
		SpringApplication.run(EurekaServerApplication.class, args);
	}

}
We need to add the following in the application.properties file:
server.port=8761
eureka.client.registerWithEureka=false
eureka.client.fetchRegistry=false
8761 : the port Eureka server is running on. This is the default port number.
eureka.client.registerWithEureka and eureka.client.fetchRegistry are set to false as we have only one Eureka
Server, and it will not act as a client.
Info
fetchRegistry controls whether a client tries to connect to the Eureka server(s) in order to download the information on other services' endpoint.
That's all.
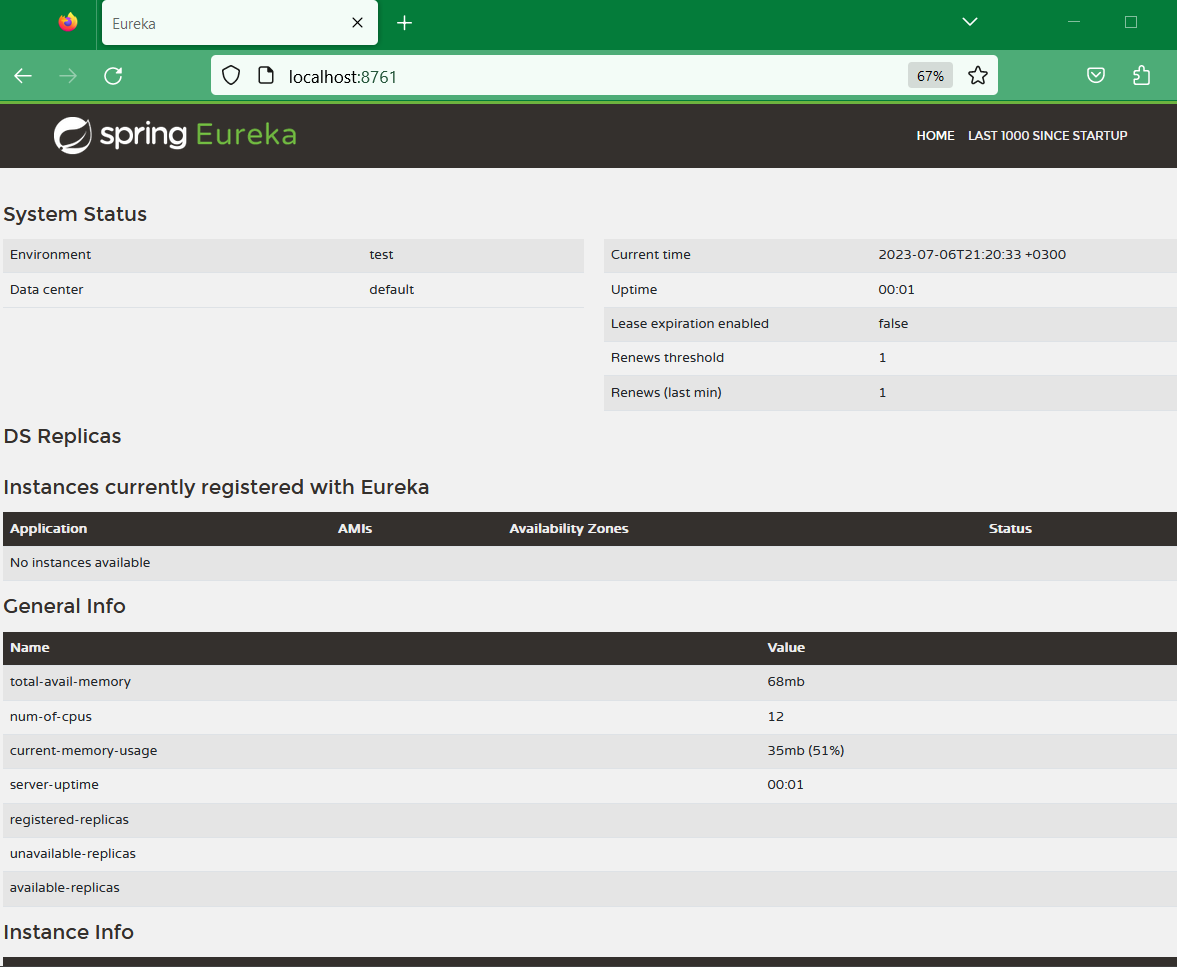
Now we start Eureka Server, and we put http://localhost:8761/ address in a browser.
In Firefox, I can see the following :

All is up and running ! Enjoy !

