
#
Create REST Client (using Jersey)

This tutorial explains to you how to create a simple Java RESTful Web Service Client (JAX-RS client) using Jersey implementation on Tomcat. This example is a simple one, just to make you understand the concept of JAX-RS Client. This JAX-RS Client example consume JSON.
When you start creating the Java RESTful (JAX-RS) Client, it is supposed that the Web Service is running, and you can access it via URL. You can take a look at the article named Create a REST Service (using Jersey) in order to see how to get a JAX-RS Web Service running.
This tutorial use the Jersey implementation for JAX-RS (RESTful Web Services). This Web Service Client will consume a Web Service which produce JSON.
In order to create a RESTful Web Service (JAX-RS) Client using Jersey with Eclipse (NEON in my case, with Java8) you have to create a Java Project.
In Eclipse => File => New => Java Project
You will see the following screen:
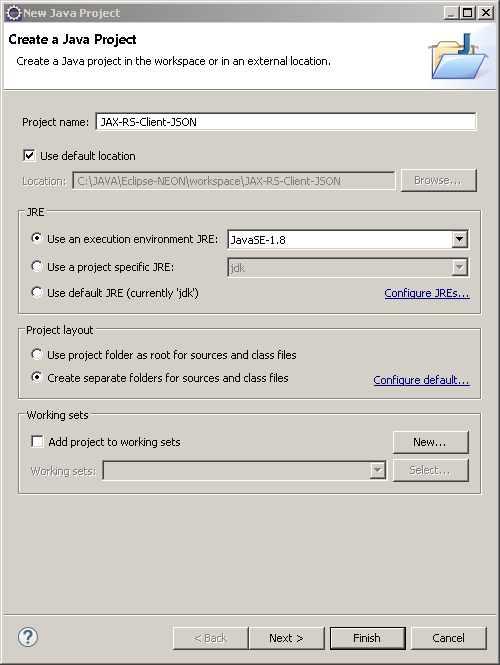
I will name this project "JAX-RS-Client-JSON". Click on "Finish" and the "JAX-RS-Client-JSON" project is created.
Now I convert the project into a Maven Project: Right-click on project name, choose Configure, choose
"Convert to Maven Project".

The following screen will appear:
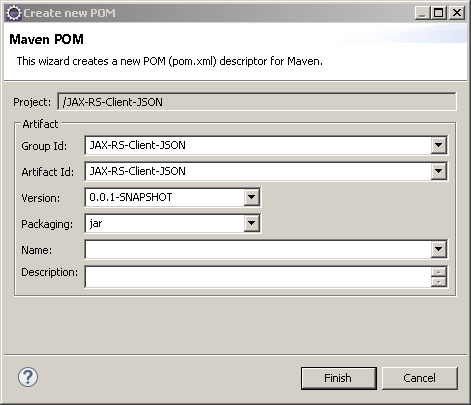
Click on "Finish".
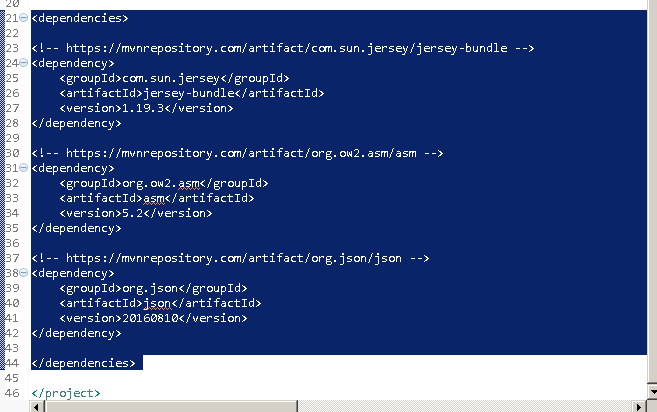
Once I get a Maven Project, I add the dependencies into the pom.xml file:
Save the file and Build the Maven Project:
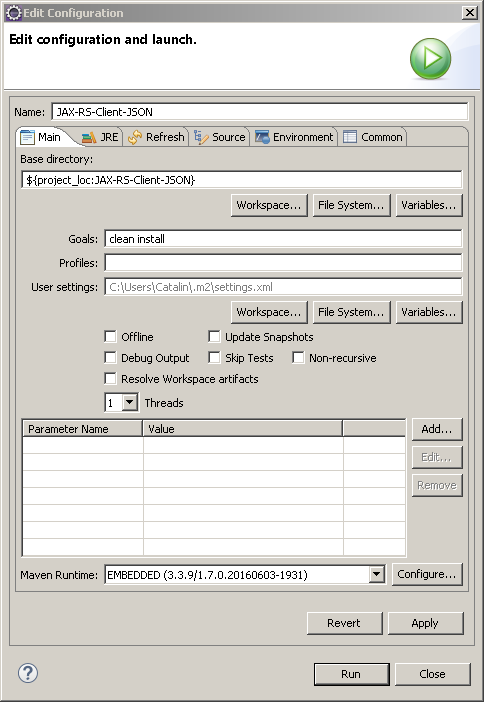
hen you build the project it is a good idea to put in the "Goals" field "clean install" in order to build a "clean" project.
Click on "Run" in order to build the project.
Now create the Java Client in order to get the response from the Web Service:
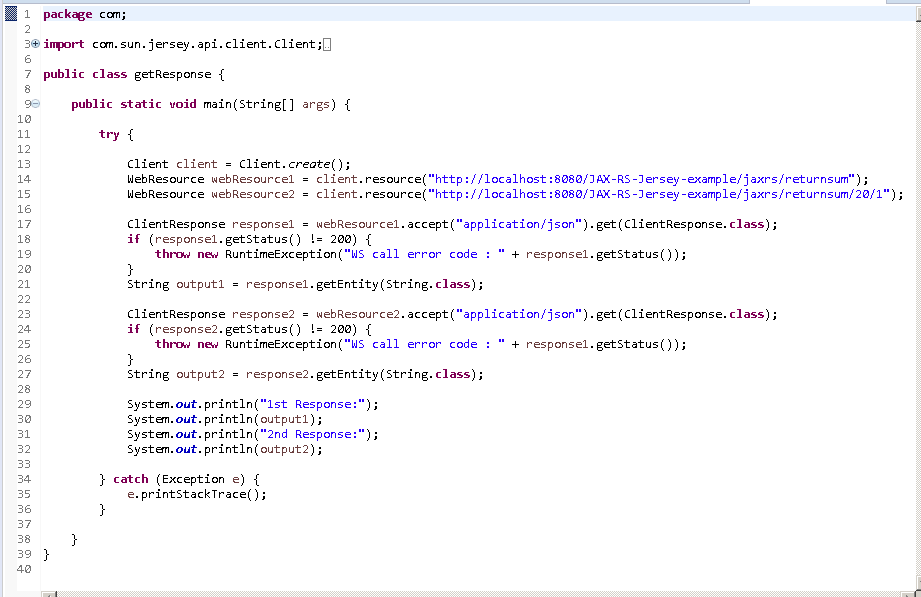
When you run the Java Client for the JAX-RS Web Service, you will see something like this into the Console output:

Enjoy using JAX-RS (RESTful/REST) Web Services !