
#
MySQL installation on Windows

This tutorial shows you how to install MySQL on Windows. This article has a step-by-step approach and will present you how to install MySQL database (5.7) on Windows.
For installing MySQL Server on Windows, you have to download the product from here. You can download the installer or the product. If you have an Internet connection, you can use the Installer, if not you have to download the product and to install it.
I will install MySQL 5.7 on Windows 7 x64. For this I downloaded the MSI installer (mysql-installer-community-5.7.17.0.msi).
I run the Installer and I can see the following image:
After this you will see a warning message. Let the Operating System to install the product. Here is the net screen:
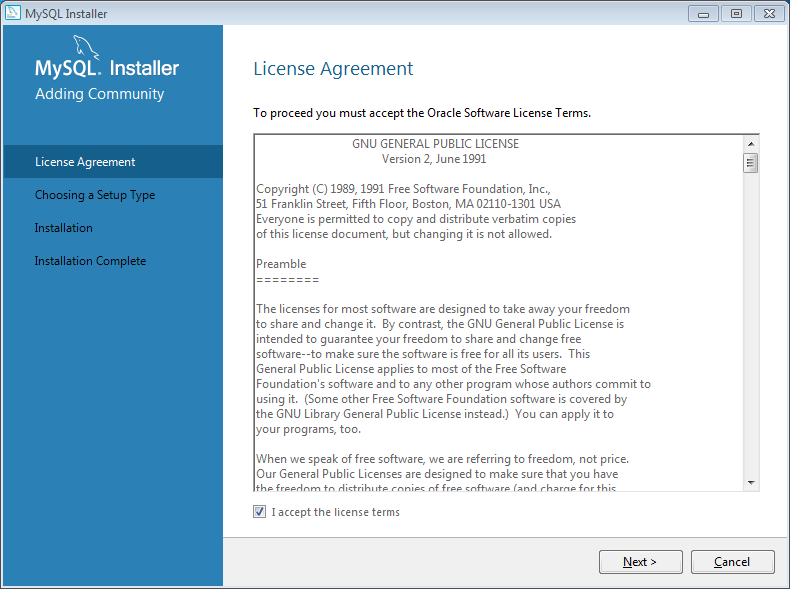
Accept the license terms and click on "Next".
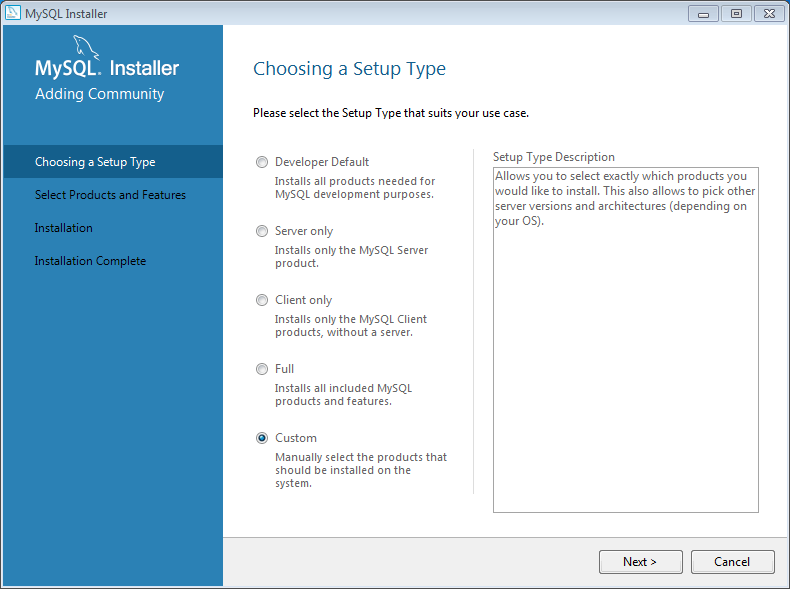
Choose the installation types and click on "Next".
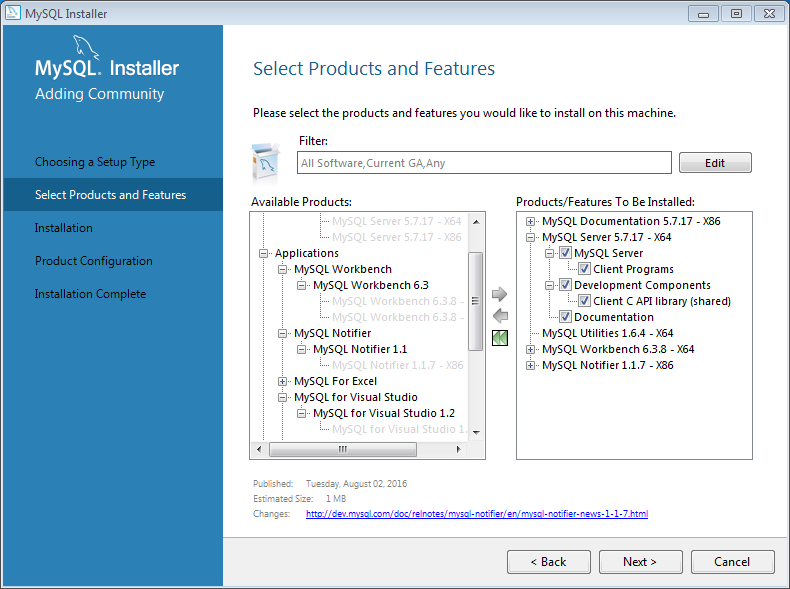
Choose the products you want to install and click on "Next".
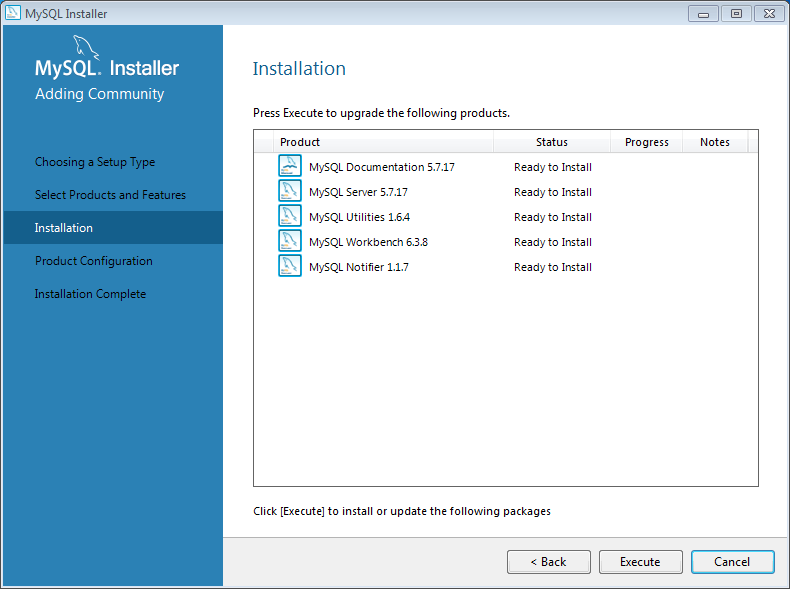
You will see a summary of what the Installer is ready to install. Click on "Execute".
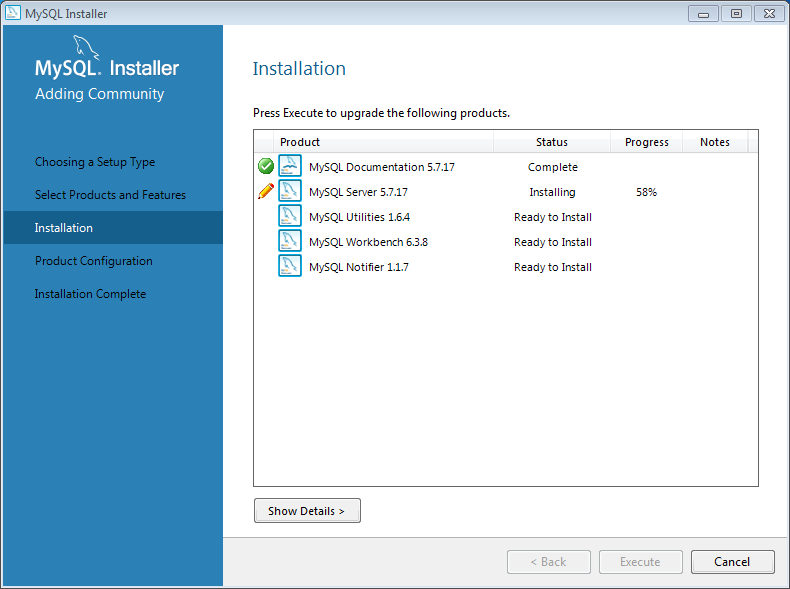
You will see the installation progress.
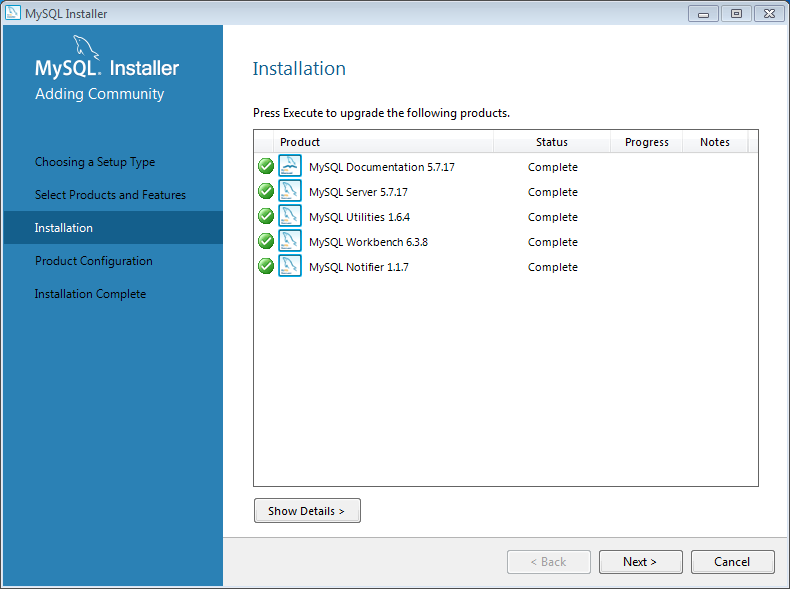
When the products will be installed you have to configure them. Click on "Next".
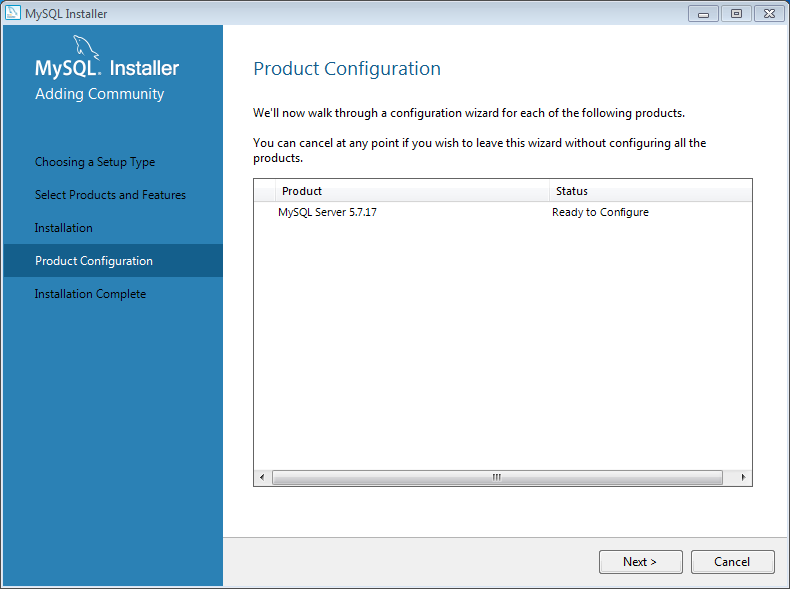
Click on "Next".
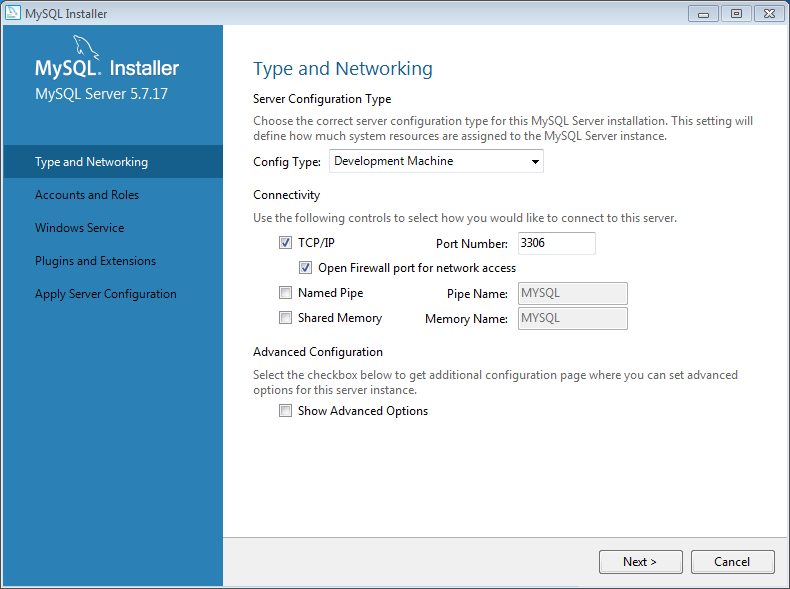
Configure the MySQL Server and click on "Next".
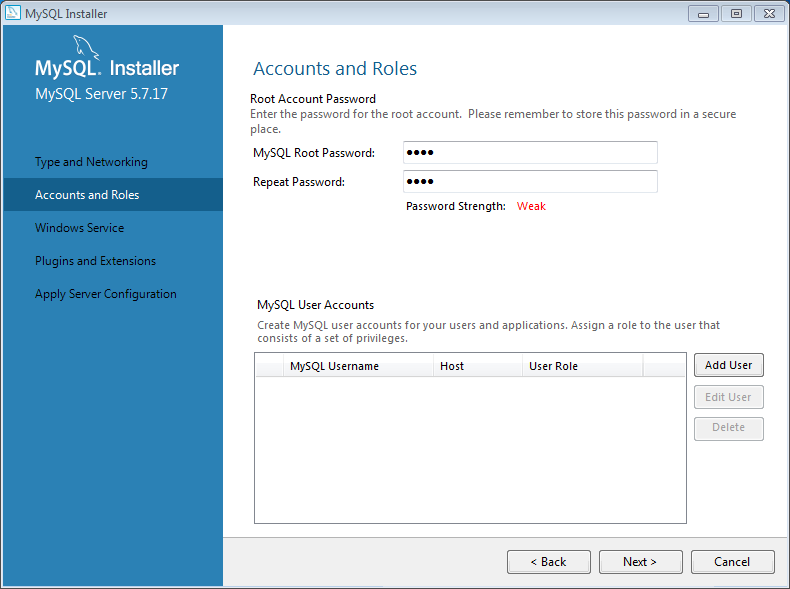
Create accounts and set the root password. Click on "Next".
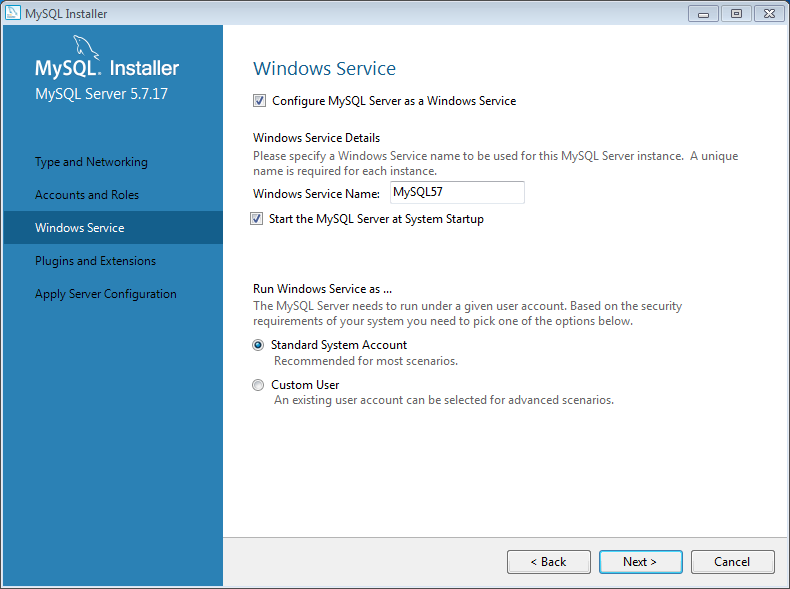
Create a Windows service for the MySQL installation. Click on "Next".
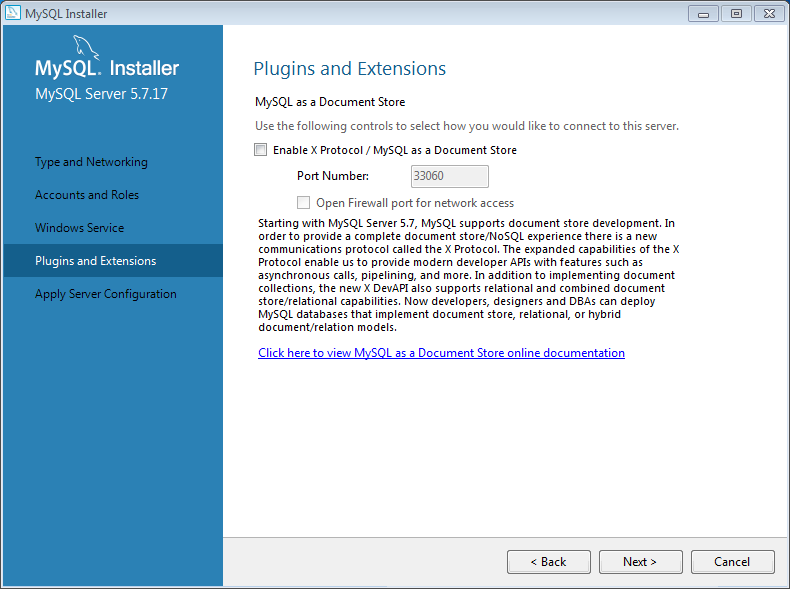
If you want to store documents in MySQL database, check "Enable X Protocol ...". Click on "Next".
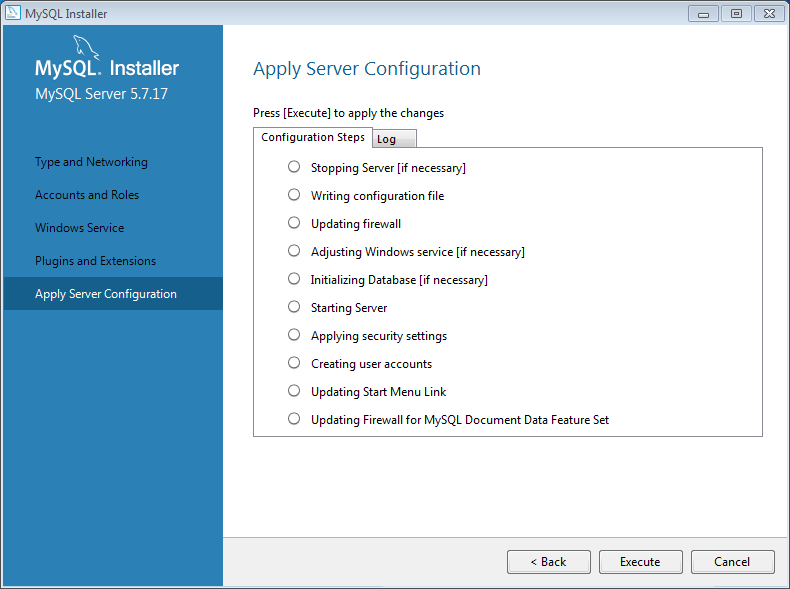
Click on "Execute" in order to apply the Server Configuration.
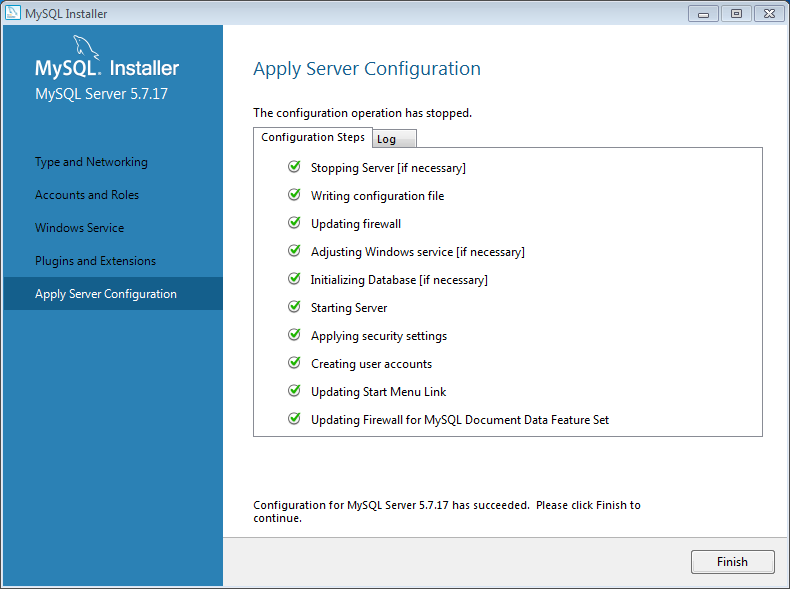
When all is done, click on "Finish".

Click on "Next".
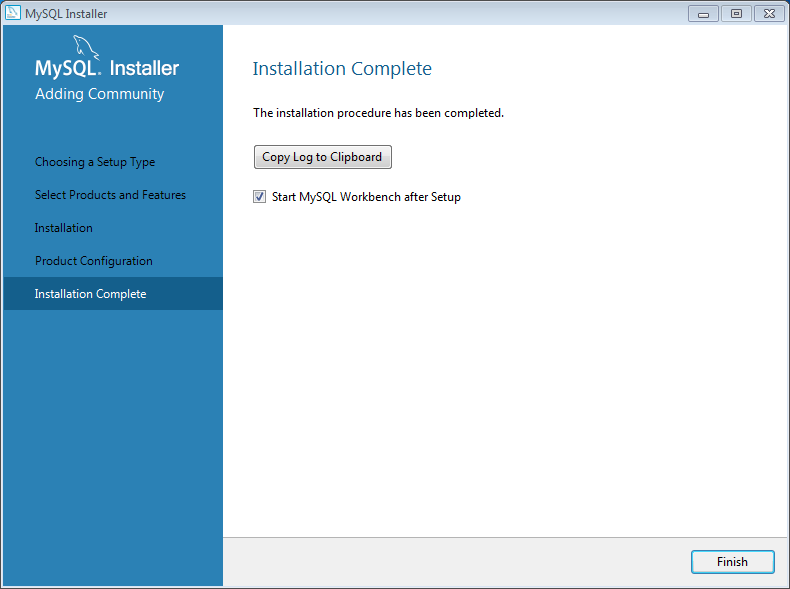
If you want you can check "Start MySQL Workbench after Setup".
Click on "Finish".
Now your database is ready to go.