#
Node.js installation on Windows

This tutorial will explain to you how to install Node.js on Windows. This is not a difficult task. You will get a step-by-step approach.
Before installing NODE.js you have to go to download Node.js from
https://nodejs.org/en/#download :
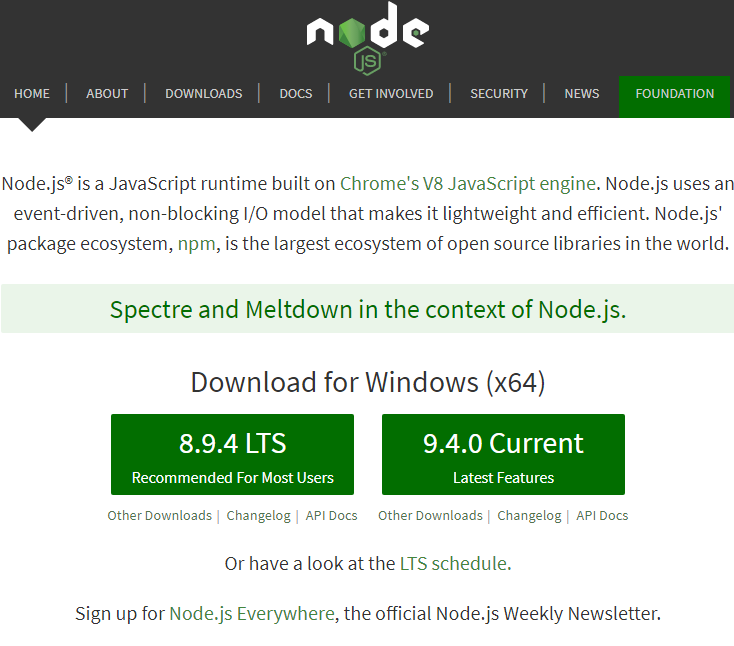
Click on the current version in order to download the Node.js installer:
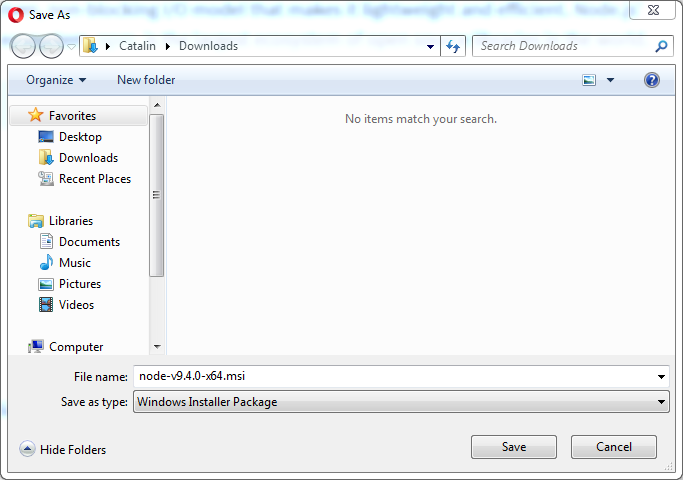
Choose a location for saving the Node.js installer and click on "Save" button.
In order to run the Node.js installer you have to run the downloaded file. In my case it is "node-v9.4.0-x64.msi".
Once the Node.js installer is started you will see the following screen:
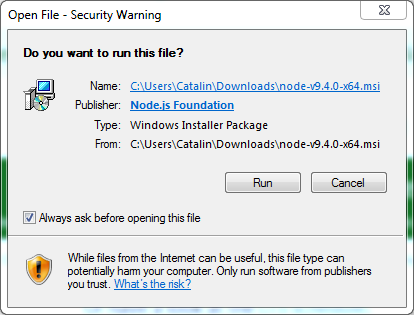
Click on "Run" button, and you will see the "Welcome to the Node.js Setup Wizard" screen:
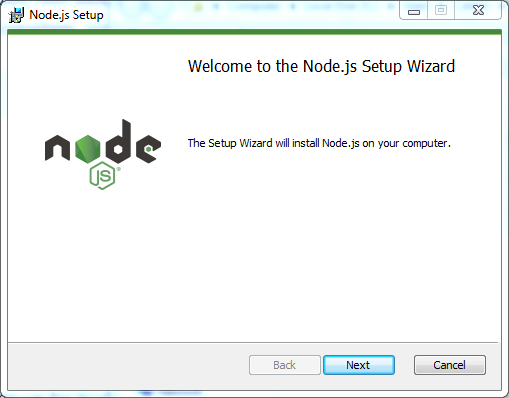
Click on "Next" button, and you will see the "End-User License Agreement" screen:
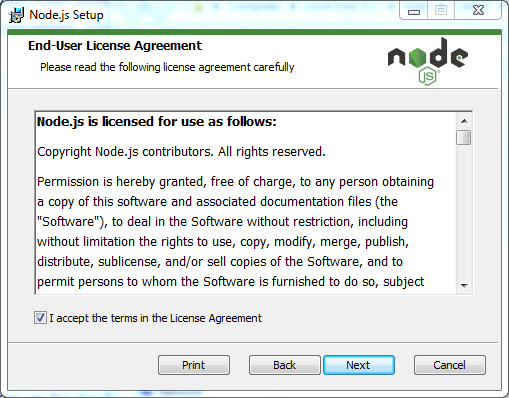
Click on "Next" button, and you will see the "Destination Folder" screen:
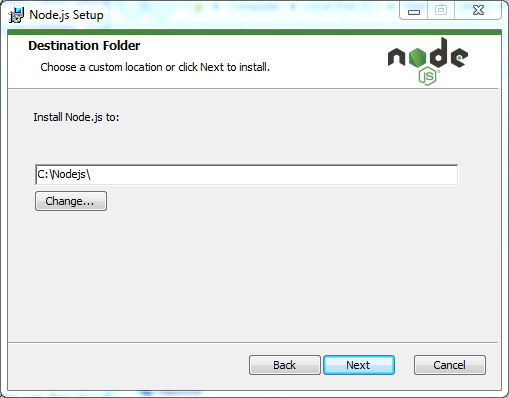
Choose a destination for the installation and click on "Next" button. You will see the "Custom Setup" screen:
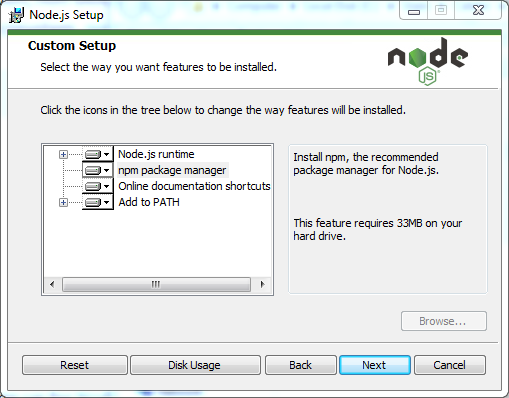
Click on "Next" button, and you will see the "Ready to install Node.js" screen:
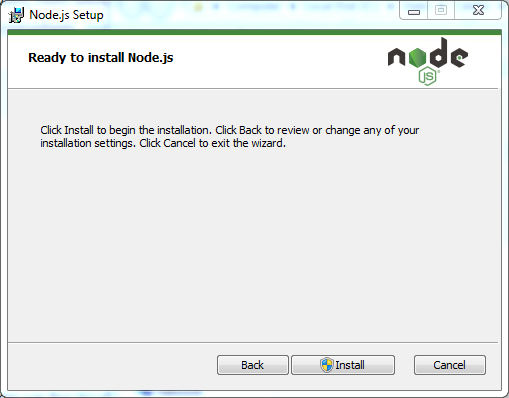
Click on "Install" button and when the Node.js installation is done, you will see the following screen:
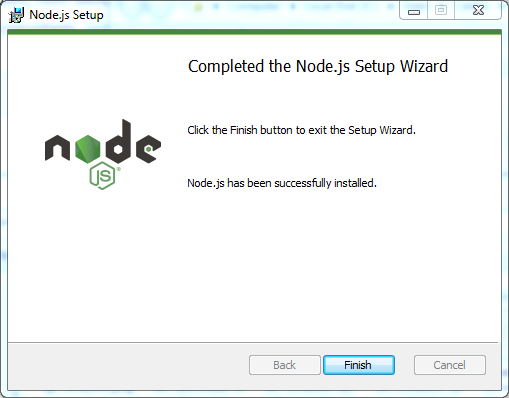
Click on "Finish" button.
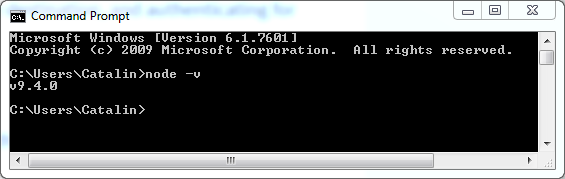
At this point, you have Node.js installed, and you can verify this using the following command:
node -vTake a look at the following screen:
Info
Node.js always is shipped with a specific version of NPM (Node Package Manager).
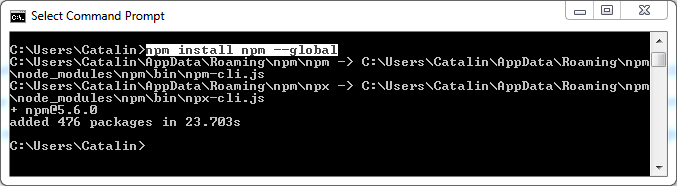
The last thing to do is to install the latest NPM using the following command:
npm install npm --global