
#
PyCharm Installation on Windows

This tutorial explains how to install PyCharm on Windows. This article has a step-by-step approach.
In order to use or create a Python script/ program on Windows you have to install Python on Windows and a Development GUI for Python.
In this tutorial you will see how PyCharm Community edition could be installed on Windows. This is a very simple task.
For Windows, first, you have to download the appropriate software version from https://www.jetbrains.com/pycharm/download/#section=windows.
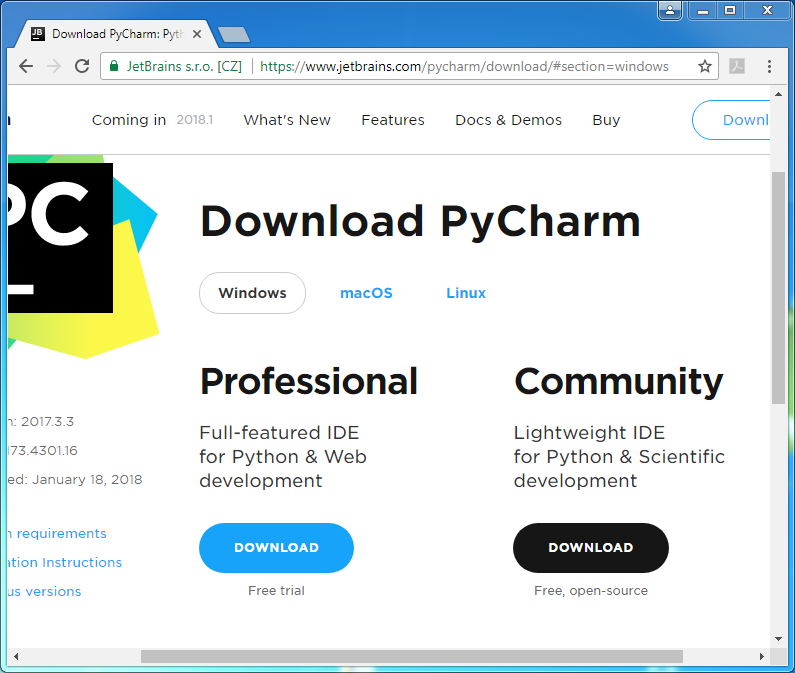
In my case I downloaded pycharm-community-2017.3.3.exe.
Run this file, and you will receive the following message:
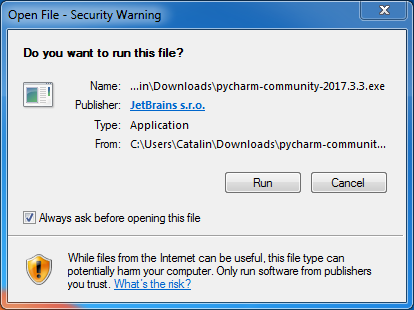
Click on "Run" button, and you will see the "Welcome to PyCharm Community Edition Setup" Window during the PyCharm Installation:
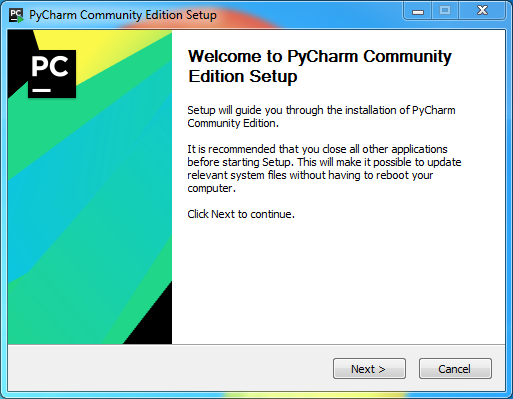
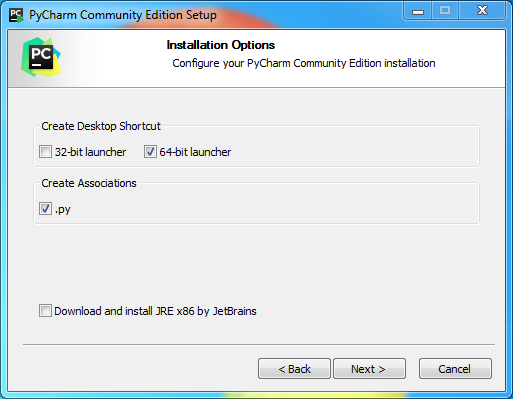
Click on "Next" button, and you will see the "Choose Install Location" Window during the PyCharm Installation:

Click on "Next" button, and you will see the "Install Options" Window during the PyCharm Installation:
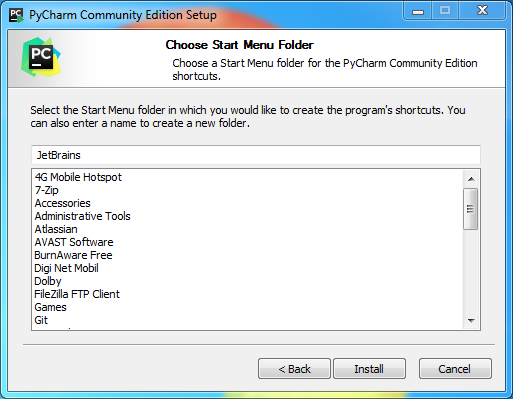
Click on "Next" button, and you will see the "Choose Start Menu Folder" Window during the PyCharm Installation:
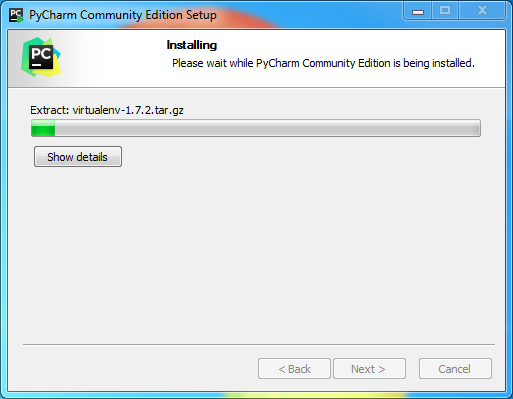
Click on "Install" button, and you will see the "Installing" Window:
When the installation is done you will see:
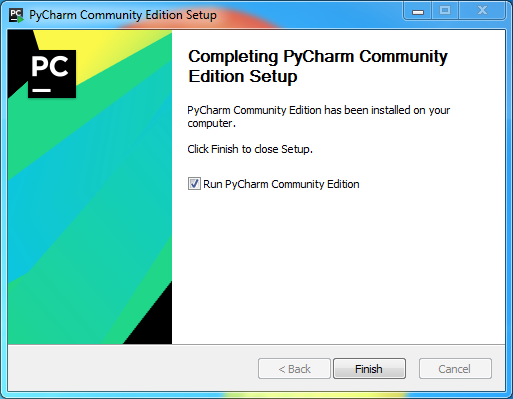
Check "Run PyCharm Community Setup" and click on "Finish" button.
You will see the "JetBrains Privacy Policy" Window:
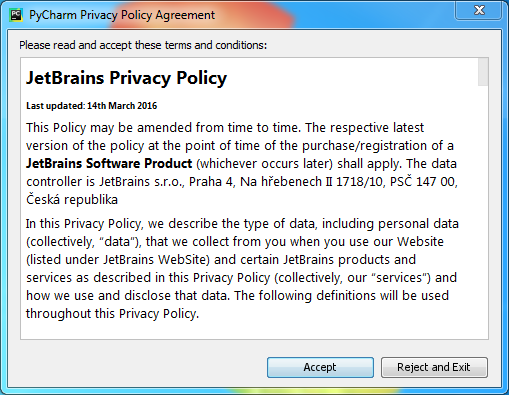
Click on "Accept" button, and you will see the "PyCharm: Set UI theme" Window:

Click on "Next: Featured plugins" button, and you will see the "Customize PyCharm: Featured plugins" Window:
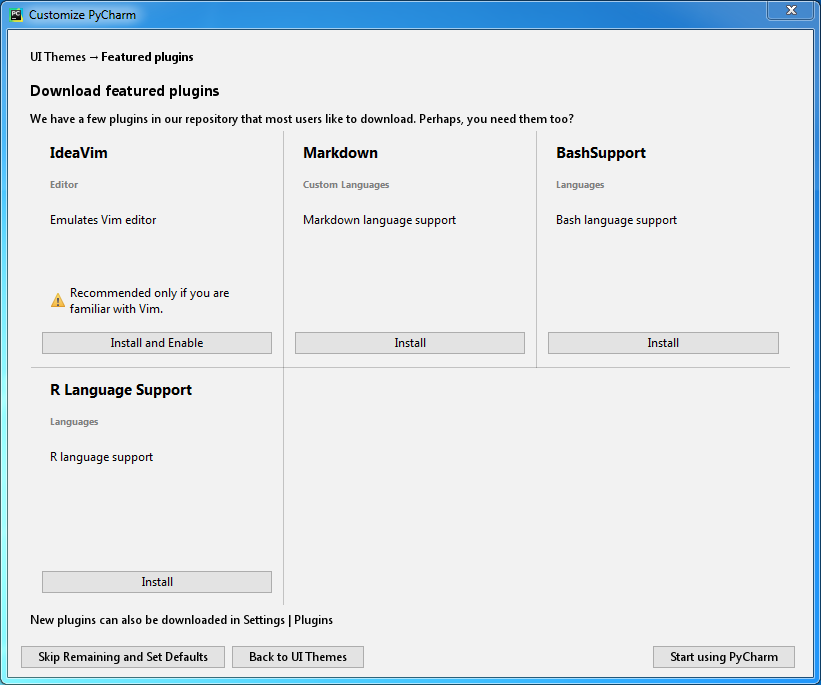
Click on "Start using PyCharm" button, and you will see the following Window:
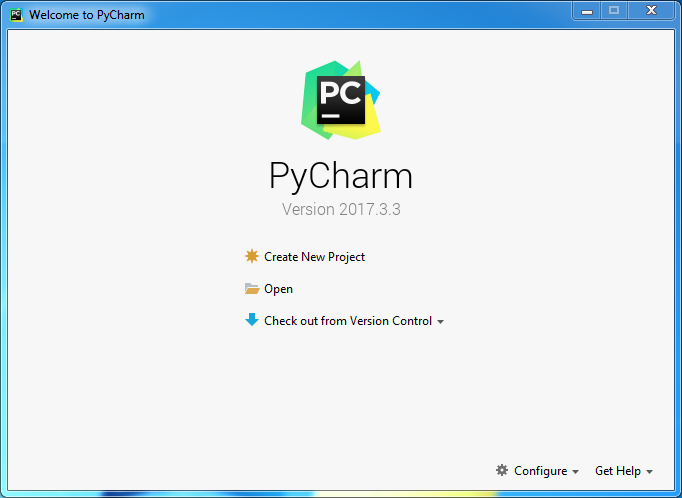
I will choose to create a new project and the following screen will appear:
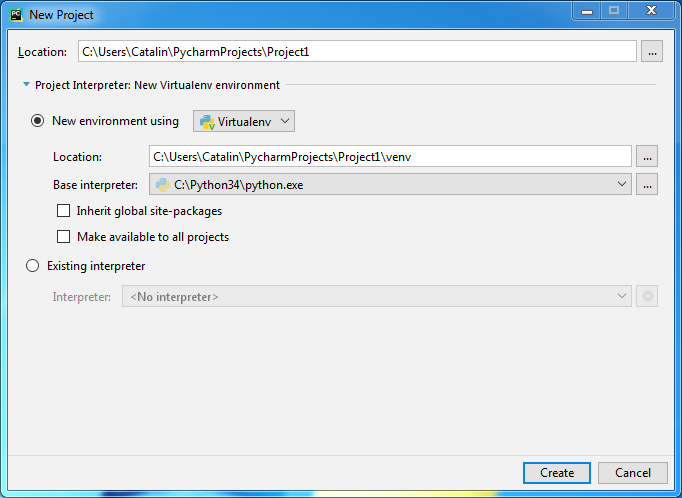
Click on "Create" button and the PyCharm will open:
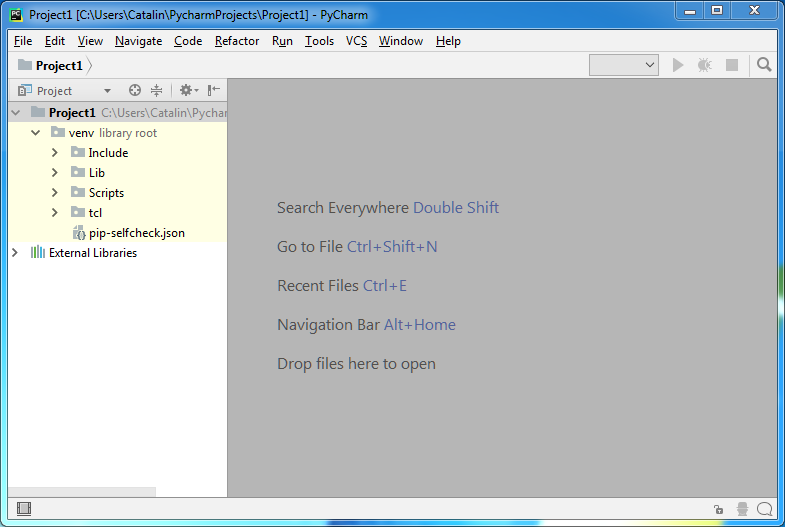
Now you can use PyCharm !