#
Vagrant Provisioning Example
This tutorial explains to you how provisioning works in Vagrant. This tutorial has an example as well.
In order to create your first virtual machine CentOS which use provisioners,
first of all you have to create the folder for the project ( provisioning-vagrant directory in my case ) :
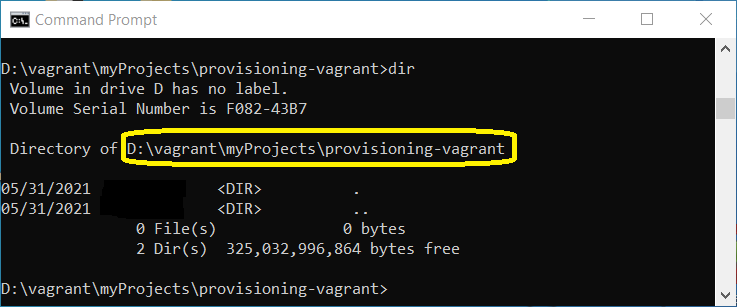
As you can see the folder is empty.
Go under the project folder and run the command vagrant init centos/7 :

The command download the Vangrantfile of the project from the Vagrant Cloud. In order to see all the available Vagrant Boxes you can go to the https://app.vagrantup.com/boxes/search.
Now you can edit the Vangrantfile and add the following lines:
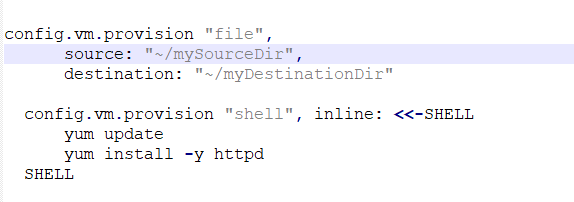
As you can see you add 2 groups of functionalities (Vagrant provisioning) : "file" and "shell". One is useful for reading directories from the host machine and the other is useful for running shell commands on the new virtual machine during the vagrant up command. For more information you can visit https://www.vagrantup.com/docs/provisioning.
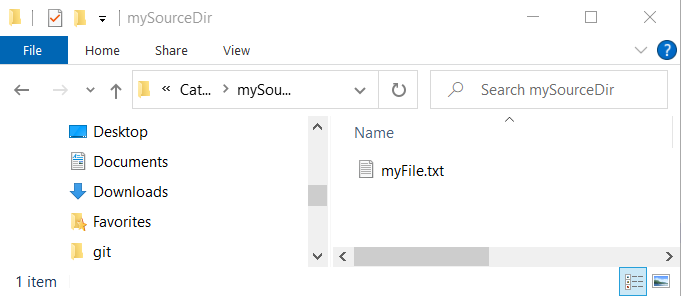
Add a file on the source directory :
Run the vagrant up command to start the new Virtual Box machine:
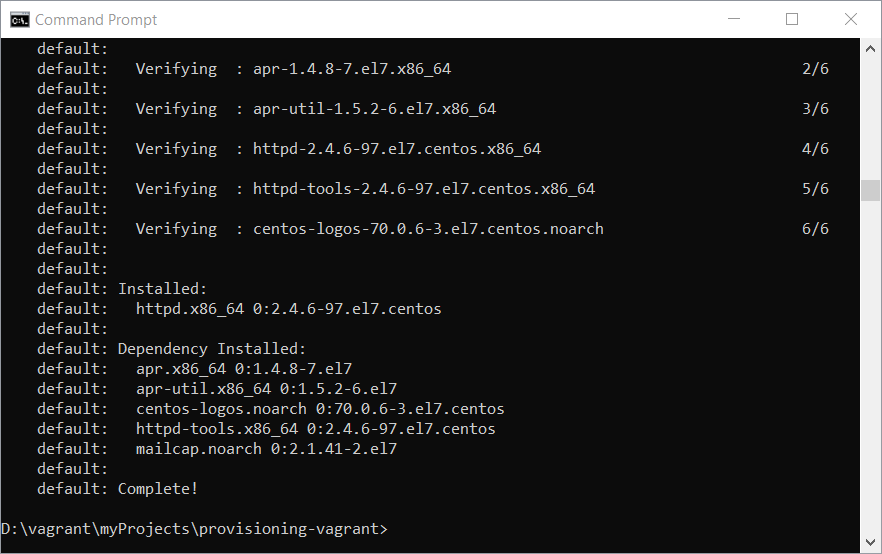
As you can see in the image above, Vagrant download all it needs and create the new Virtual Box machine.
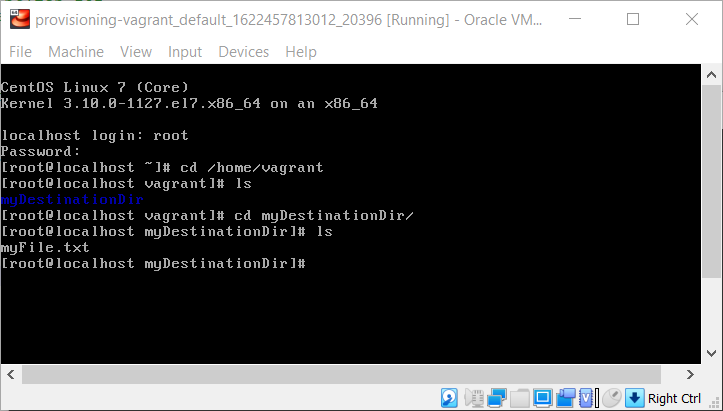
And now you can test that the new file is seen by the new virtual machine (the file are copied during the
vagrant up command):
Info
In order to connect to the new virtual machine you can use root account and the default password vagrant.

