
#
WildFly 10.1 installation on Windows

This tutorial explains to you how you can install WildFly Server 10.1 on Windows.
In order to install the WildFly server you must have Java 8 (or greater) installed and available on your machine/ server.
Here are the steps for installing WildFly 10.1 on Windows:
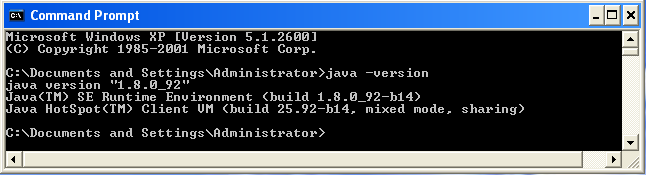
Before starting the installation it is a good idea to test that your environment is setup with the JDK 8 (this task could be done later as well):
Download the WildFly (wildfly-10.1.0.Final.zip file) from here.
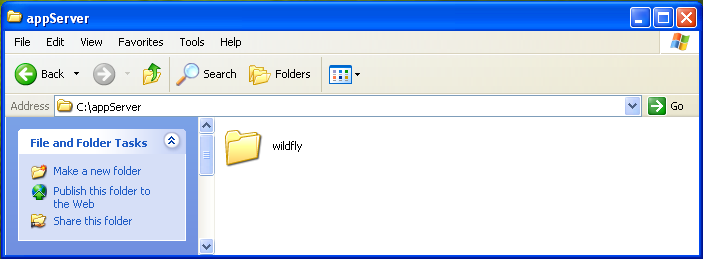
Create a directory where the WildFly Server binaries will be put.
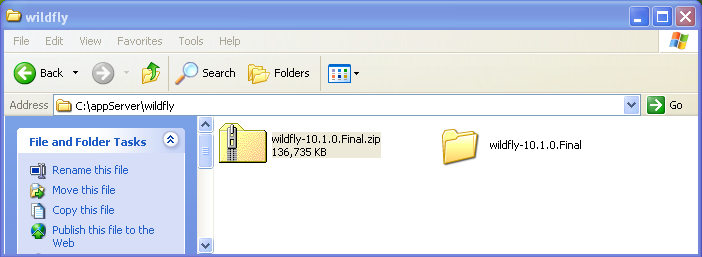
Copy the wildfly-10.1.0.Final.zip file to the new "wildfly" directory.
Unzip the wildfly-10.1.0.Final.zip file and you will get the "wildfly-10.1.0.Final" directory.
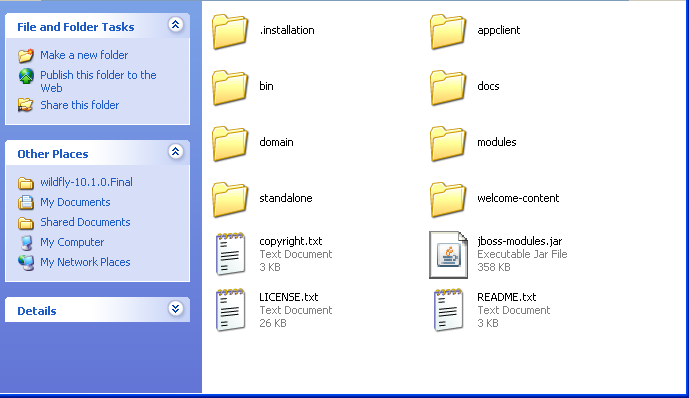
Here are the main structure of the WildFly Server:
Now, you can use the script C:\wildfly\wildfly-10.1.0.Final\bin\standalone.bat to start the WildFly server and check the installation. After startup, you should be able to access the web server at http://localhost:8080 and the Admin Console at http://localhost:9990/console.
However, if the port 8080 or 9990 is used, you can start the WildFly server on another ports:
standalone.bat -Djboss.socket.binding.port-offset=1After startup, you should be able to access the web server at http://localhost:8081 and the Admin Console at http://localhost:9991/console.
If you want, in addition to access the WildFly from a link like http://idam:8081 (using hostname instead localhost), you have to bind the IP address behind "idam" hostname:
standalone.bat -Djboss.socket.binding.port-offset=1 -b=192.168.57.134WildFly "management" interface can be bound to a specific IP address as well:
standalone.bat -bmanagement=192.168.57.134Of course, you can bind WildFly "public" (HTTP listener) and "management" interface together as to all available IPs on that machine:
standalone.bat -b=0.0.0.0 -bmanagement=0.0.0.0