#
Start the WildFly Server (standalone)
This tutorial explains to you how to start a standalone WildFly Server. The commands are similar for Windows and Linux environments.
Info
In this tutorial I use Linux syntax. On Windows use ".bat" instead ".sh". Some Linux features (like "nohup") are not available on Windows.
In order to start the Standalone WildFly Server on Linux we have to run the following command:
$WildFly_HOME/bin/standalone.sh
However, if the default ports (8080, 9990, 8443) are used, you can use the following command:
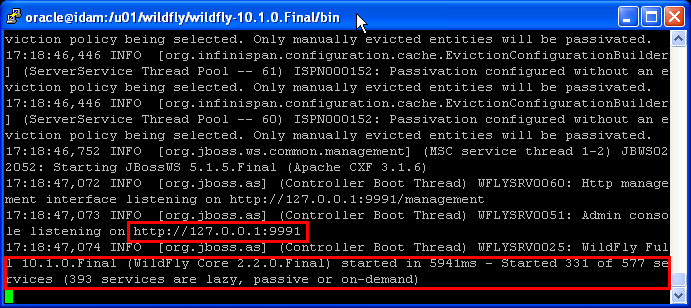
nohup ./standalone.sh -Djboss.socket.binding.port-offset=1 &This will start the Standalone WildFly Server on the following ports: 8081, 9991, 8444.

After startup, you should be able to access the web server at http://localhost:8080 and the Admin Console at http://localhost:9990/console.
However, if the port 8080 or 9990 is used, you can start the WildFly server on another ports:
./standalone.sh -Djboss.socket.binding.port-offset=1After startup, you should be able to access the web server at http://localhost:8081 and the Admin Console at http://localhost:9991/console.
If you want, in addition to access WildFly from a link using hostname instead localhost (for instance, http://idam:8081), you have to bind the IP address behind "idam" hostname:
./standalone.sh -Djboss.socket.binding.port-offset=1 -b=192.168.57.134WildFly "management" interface can be bound to a specific IP address as well:
./standalone.sh -bmanagement=192.168.57.134Of course, you can bind WildFly "public" (HTTP listener) and "management" interface together as to all available IPs on that machine:
./standalone.sh -b=0.0.0.0 -bmanagement=0.0.0.0
